

Repairs to the Altima
A week ago, I propped up the hood on Hagan's car (2005 Altima 2.5S) intending to replace the PCV valve. I got started but quickly realized that PCV hose was seriously brittle and crumbly. I also noticed that the valve cover gasket was shot resulting in an oil leak around the cover. I had neither the PCV replacement hose nor the valve cover gasket and no time to go buy them. So, I put everything back together and saved the job for another day. Well, today was that day. Sorry that I didn't film it or take step by step photos. However, I did get one shot while the valve cover was off.
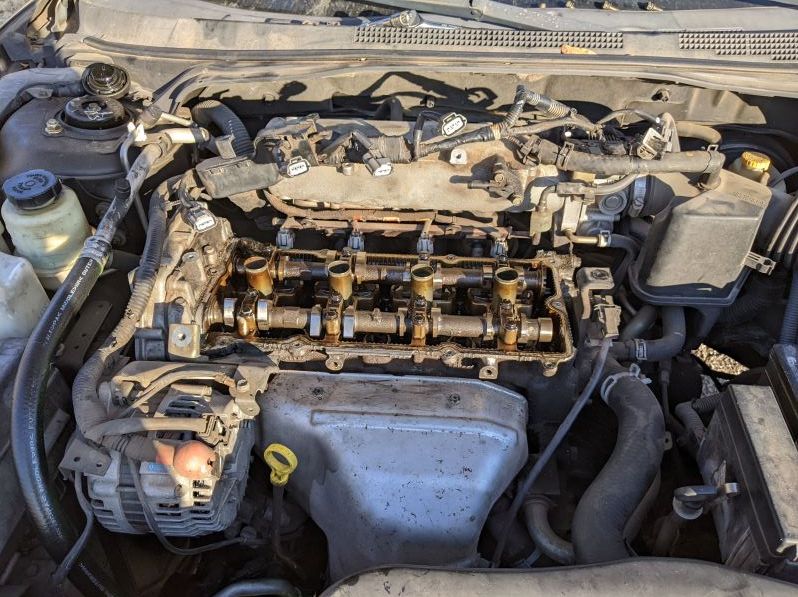
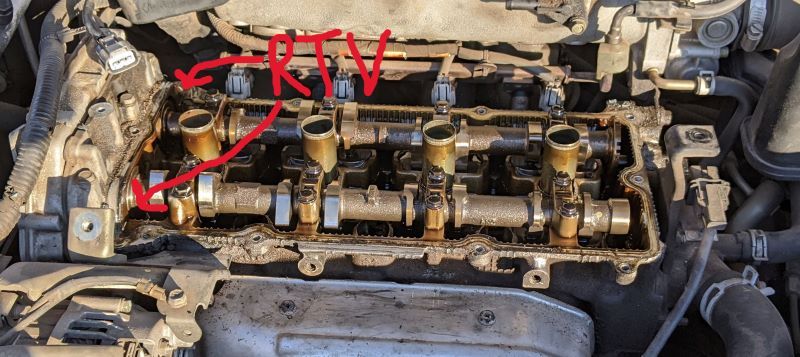
Now, this shot was taken before I cleaned the mating surface where the gasket seals to the head. In fact, cleaning the surface took the lion's share of the time of this job. But I got it all shined up and was able to set the valve cover back in place without any trouble. For those of you who are wondering (you know who you are), yes I used a touch of RTV at the front (passenger side) end where the surface curves (after cleaning the surface).
Before I put the cover back on, I replaced the PCV valve, which is fastened into the valve cover. After placing the cover back on and torquing the bolts to about (Haynes manual calls for 82 in-lbs (about 7 ft-lbs) (yes, I used my torque wrench), I replaced the brittle PCV hose. After getting all of the coils back in and wiring harness plugged back in, I fired up the engine and let it warm up. I took it for a spin around the neighborhood until it was up to normal operating temp. Back at the house, I popped the hood and checked for leaks. None.
Job done.
